Caractéristiques du Build / Build Features
-Les Dégâts infligés augmentent suivant le Bouclier Max d'Esiemo / Damage dealt increases based on Esiemo's Maximum Shield.
-Esiemo a besoin d'avoir 30 000 de Bouclier pour infliger le maximum de dégâts possibles / Esiemo needs 30,000 Shield to deal the maximum possible damage.
-Ce Build n'a aucun moyen direct de restaurer du Bouclier Max / This build has no direct way to restore Maximum Shield.
-Une Arme de Mêlée n'est pas nécessaire pour ce Build / A melee weapon is not required for this build.
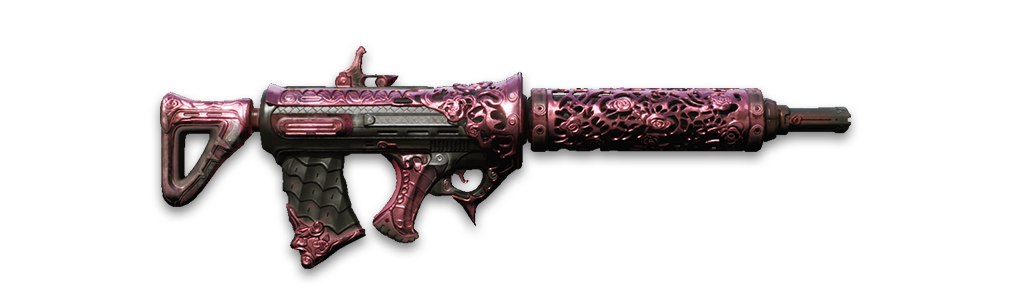
-Le Jardin Secret est l'Arme Principale à utiliser dans ce Build / Secret Garden is the primary weapon to use in this build.
Rotation des Compétences / Skill Rotation
-La Compétence 1 permet de poser les bombes au sol rapidement et en continu pour piéger une large zone / Skill 1 allows you to quickly and continuously place bombs on the ground to trap a large area.
( Il est impératif de poser 7 Bombes en début de combat pour activer au maximum l'effet Domino / It is essential to place 7 Bombs at the start of combat to fully activate the Domino effect. )
-La Compétence 3 permet de poser les mines qui vont exploser si un ennemi bouge dans la zone / Skill 3 allows you to deploy mines that will explode when an enemy moves within their area.
-La Compétence 2 permet de déclencher les bombes de la Compétence 1 ainsi que les mines de la Compétence 3 / Skill 2 allows you to detonate both the bombs placed by Skill 1 and the mines deployed by Skill 3.
Attention / Warning
-Contrairement au Bombardier Totalement Fou, vous ne pouvez pas augmenter votre Bouclier donc il est impératif d'avoir 30 000 de Bouclier et pour ça faut obligatoirement un Ancestral spécifique possédant du Bouclier ainsi que du Délai vu qu'on passe notre temps à spammer la Compétence 1 / Unlike the Rampaging Mad Bomber, you cannot increase your Shield, so it is essential to have 30,000 Shield. To achieve this, you absolutely need a specific Ancestor with Shield and Cooldown Reduction stats, since you'll be constantly spamming Skill 1.
Gameplay du Build / Build Gameplay
Hésitez pas à poster un commentaire sur le Build si vous avez besoin de plus d'explications / Feel free to leave a comment on the build if you need any further explanations or have any questions.

 KHEI_KHAN - Updated Jun 24, 2026